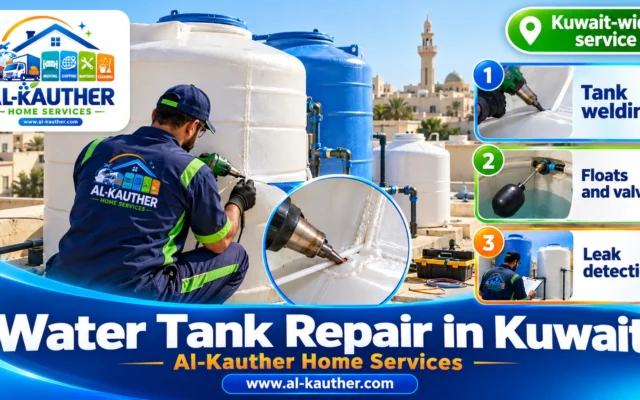
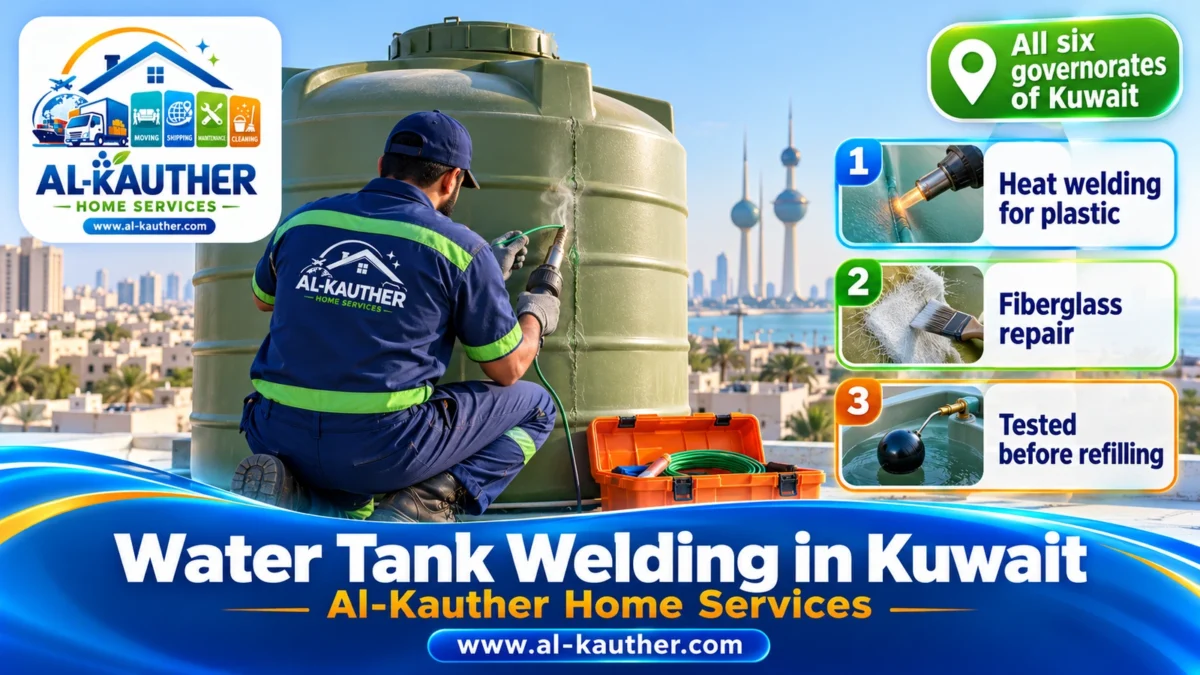
Water tank welding in Kuwait means closing a crack or hole in the tank body with material that fuses into the wall rather than sitting on top of it: a polyethylene tank is heat-welded with a rod of the same plastic, and a fiberglass tank is rebuilt with resin-soaked glass mat and finished with gelcoat. Al-Kauther Home Services does this work in all six governorates. Welding a crack or hole in a plastic tank starts from KWD 13.500, and fiberglass welding starts from KWD 18. To reach us, call or WhatsApp 65550977.
This guide is about the welding itself: how to tell what your tank is made of, why putty and silicone fail, the difference between hot-air and extrusion welding, which resin suits a drinking-water tank, how a crack is prepared so it does not keep spreading after the repair, and when we will tell you honestly that your tank is not worth welding. Leak detection, float valves, fittings and tank removal or installation are covered in our water tank repair and maintenance guide for Kuwait.
In short
- Service: welding cracks and holes in polyethylene tanks, layered fiberglass repair, reinforcing weak areas, and a water test of the repaired spot before handover.
- Prices: crack inspection from KWD 9.500, plastic tank welding from KWD 13.500, fiberglass welding from KWD 18, extensive layered repair from KWD 22.500.
- Time: welding takes one to three hours; fiberglass needs extra curing time before the tank is refilled.
- Coverage: Capital, Hawalli, Farwaniya, Ahmadi, Jahra and Mubarak Al-Kabeer.
- Working hours: daily from 8 am to 10 pm.
- Contact: call or WhatsApp 65550977; a clear photo of the crack speeds up the diagnosis.
How is tank welding different from tank repair?
Tank welding is one specific part of tank repair: it is the work on the tank body itself when it cracks or gets punctured, while general repair also covers the float valve, valves, fittings and base. That is why we never start welding until we have confirmed that the water is really coming out of the wall or floor, not from a loose fitting or an overflowing float.
Many calls that begin with “the tank is cracked” end at a threaded outlet fitting that has started to weep, or at overflow water running down from the vent. On the other hand, some hairline cracks in the tank floor only become visible once the tank has been drained and dried. So our work starts with an inspection, and then we decide: is this a fault that can be welded, by which method, and is the tank worth repairing at all?
Know your tank material first: each type has its own method
The welding method for a tank in Kuwait is set by its material before anything else: polyethylene is melted and fused, fiberglass is rebuilt in layers, steel needs metal welding, and concrete is not welded at all but treated by injection and lining. Mixing these methods up ends in a leak that comes back within days.
The common plastic tank on Kuwaiti rooftops is usually rotationally moulded polyethylene, made with a single layer or several: a coloured UV-resistant outer layer, a dark middle layer that blocks light, and a white inner layer in contact with the water. You can recognise it by its waxy feel and by the way the wall gives slightly when pressed. Fiberglass has a hard, glossy surface; at a broken edge you can see white fibres between resin layers, and it sounds closer to a hard shell than to plastic when tapped.
The table below shows how each common tank type found in Kuwaiti homes is handled:
| Tank material | How to recognise it | Repair method | Can it be welded? |
|---|---|---|---|
| Polyethylene (single or multi-layer) | Waxy feel, slightly flexible wall, beige, blue, white or black | Hot-air welding with a rod of the same material, or extrusion welding for thick walls | Yes, if the surface has not turned chalky from the sun |
| Cross-linked polyethylene (XLPE) | Often stated on the maker’s label; rigid and does not soften with heat | Does not melt, so it cannot be fusion-welded; each case is assessed | Usually not; replacement is often better value |
| Fiberglass (GRP) | Hard glossy surface, fibres visible at breaks, bolted panels on large tanks | Sanding, then resin-soaked glass mat layers, then gelcoat | Yes, even large cracks with reinforcement |
| Galvanised iron or steel | Metallic sound, rust at joints | Metal welding followed by a water-safe anti-rust coating | Priced after inspection |
| Concrete ground tank | Under the yard or garage | Crack injection and internal lining, not welding | No, it is treated by lining |
Tip: Before you call, photograph the maker’s label on the tank if there is one, and photograph the crack up close with something of known size next to it, such as a pen. These two photos are usually enough for us to identify the material and bring the right rod or resin on the first visit.
Why don’t putty and silicone hold on a plastic tank?
Plastic tank welding putty, silicone and glue are not a lasting fix for a tank, because polyethylene is one of the hardest materials to bond to: its surface has very low energy, so adhesives sit on it rather than gripping it. With water pressure, and with the tank expanding under the Kuwaiti sun and contracting at night, the patch lifts at its edges and the leak returns.
This explains what happens in many homes: the crack is sealed with epoxy putty from the hardware shop, it holds for a week or a month, and then water appears from underneath it. Worse, the putty residue stays on the wall and blocks proper heat welding later until it is scraped off completely. So if you need a quick fix, we advise lowering the water level below the crack and waiting for the technician, rather than applying something the technician will have to remove.
Before any DIY fix:
- Do not put adhesives inside the tank that are not made for contact with drinking water.
- Do not heat the tank wall with a lighter or gas torch; a flame burns the plastic instead of fusing it.
- Do not climb onto the tank lid or shoulder to reach the crack; a tired wall can break under your weight.
Plastic tank welding in Kuwait
Plastic tank welding in Kuwait is done by melting both edges of the crack and a welding rod of the same polyethylene together until they become one piece. Once the spot cools, there is no separate patch that could come loose, just a continuous wall, which is why heat welding is the right fix for polyethylene tanks.
Hot-air welding with a rod of the same material
Hot-air welding is the method most used on household tanks: a gun blows air at around 300°C onto both edges of the crack and onto the polyethylene rod at the same time, softening them together, and the technician presses the rod into the groove until it fuses. Heat and speed are set by a trial weld on a piece of the same material before working on the tank, because too much heat burns the plastic and leaves it brittle, while too little leaves the rod stuck on the surface without fusing.
Choosing the rod matters as much as the heat: a polypropylene or PVC rod will not fuse with polyethylene however good it looks. So we use polyethylene rods matched to the tank type, and we prefer a rod colour close to the tank’s outer colour so the repair looks tidy.
Extrusion welding for thick walls and large tanks
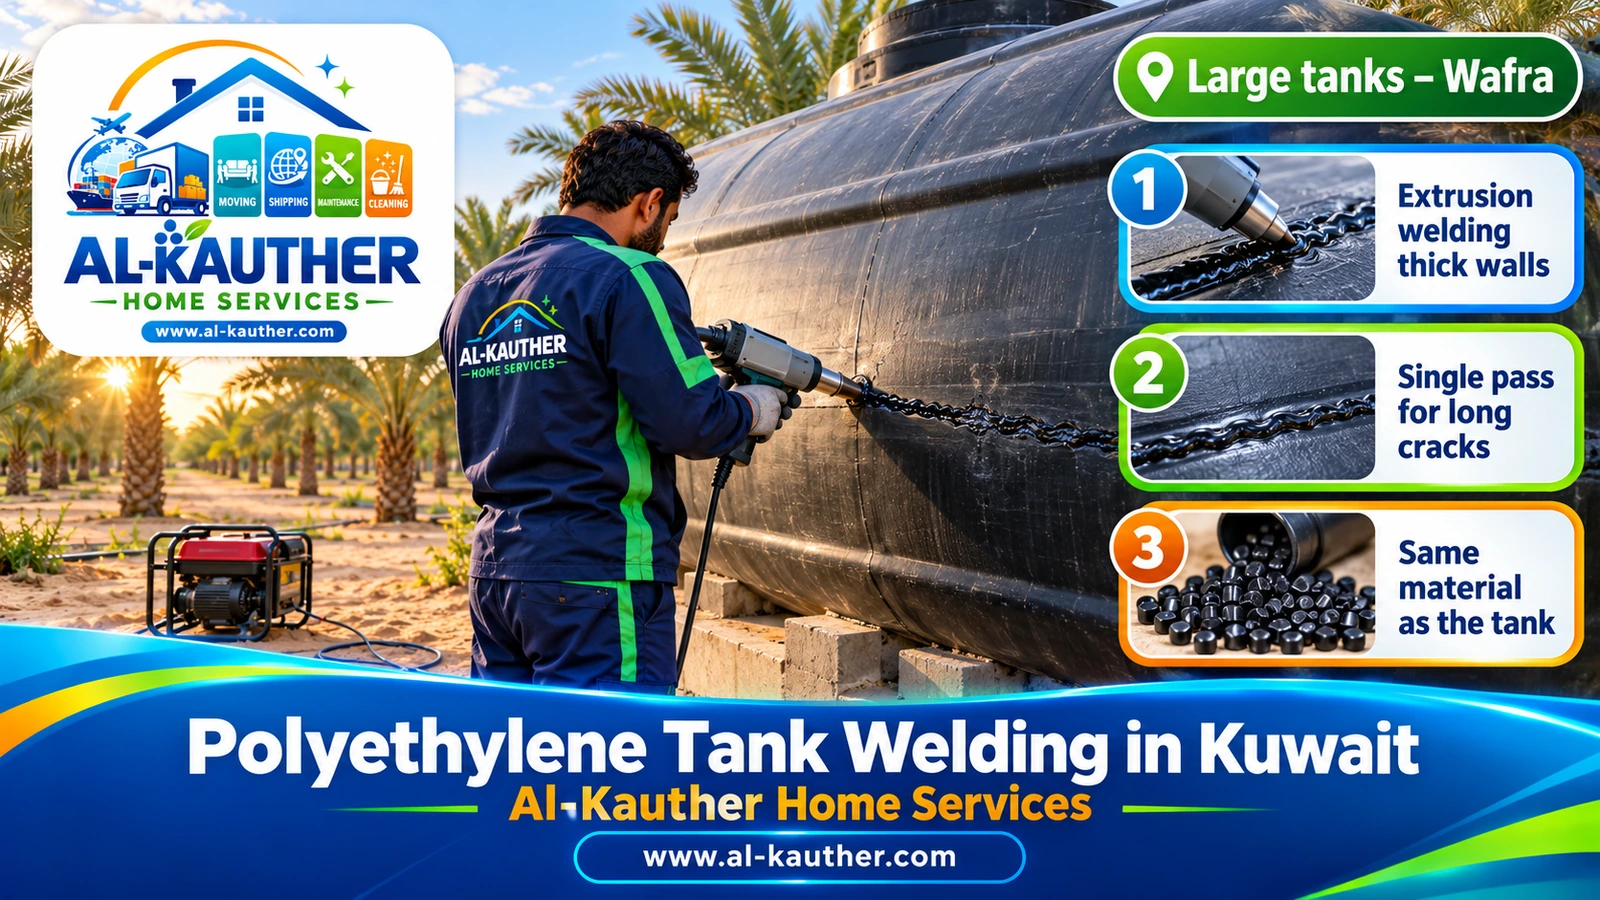
Extrusion welding is used when the tank wall is thick or the crack is long, as in building, farm and large horizontal tanks. The machine melts polyethylene granules or rod inside it and lays it out as a molten bead at roughly 210 to 230°C, while hot air preheats the surface, filling the groove in a single pass instead of several passes with a rod.
You may also hear about other welding methods, such as hot-plate, ultrasonic and friction welding. These are factory methods used for making parts and joining pipes; they are not carried out on a tank sitting on a house roof.
Welding a black, coloured or multi-layer plastic tank
A black or coloured plastic tank welds like any other if it is polyethylene; the colour does not change the material. The difference with multi-layer tanks is that a crack may run through the outer, middle and inner layers together, so it is grooved deep enough for the weld to reach every layer, and also welded from the inside where it can be reached, so no fine water path is left between the layers.
Cross-linked polyethylene (XLPE) tanks
An XLPE tank is made of polyethylene whose chains are chemically linked, so it does not melt or flow when heated and cannot be fusion-welded like a standard tank. We tell you this during the inspection instead of laying a cosmetic weld that will come away, and we explain the options available, which in most cases means replacing the tank.
Fiberglass tank welding in Kuwait
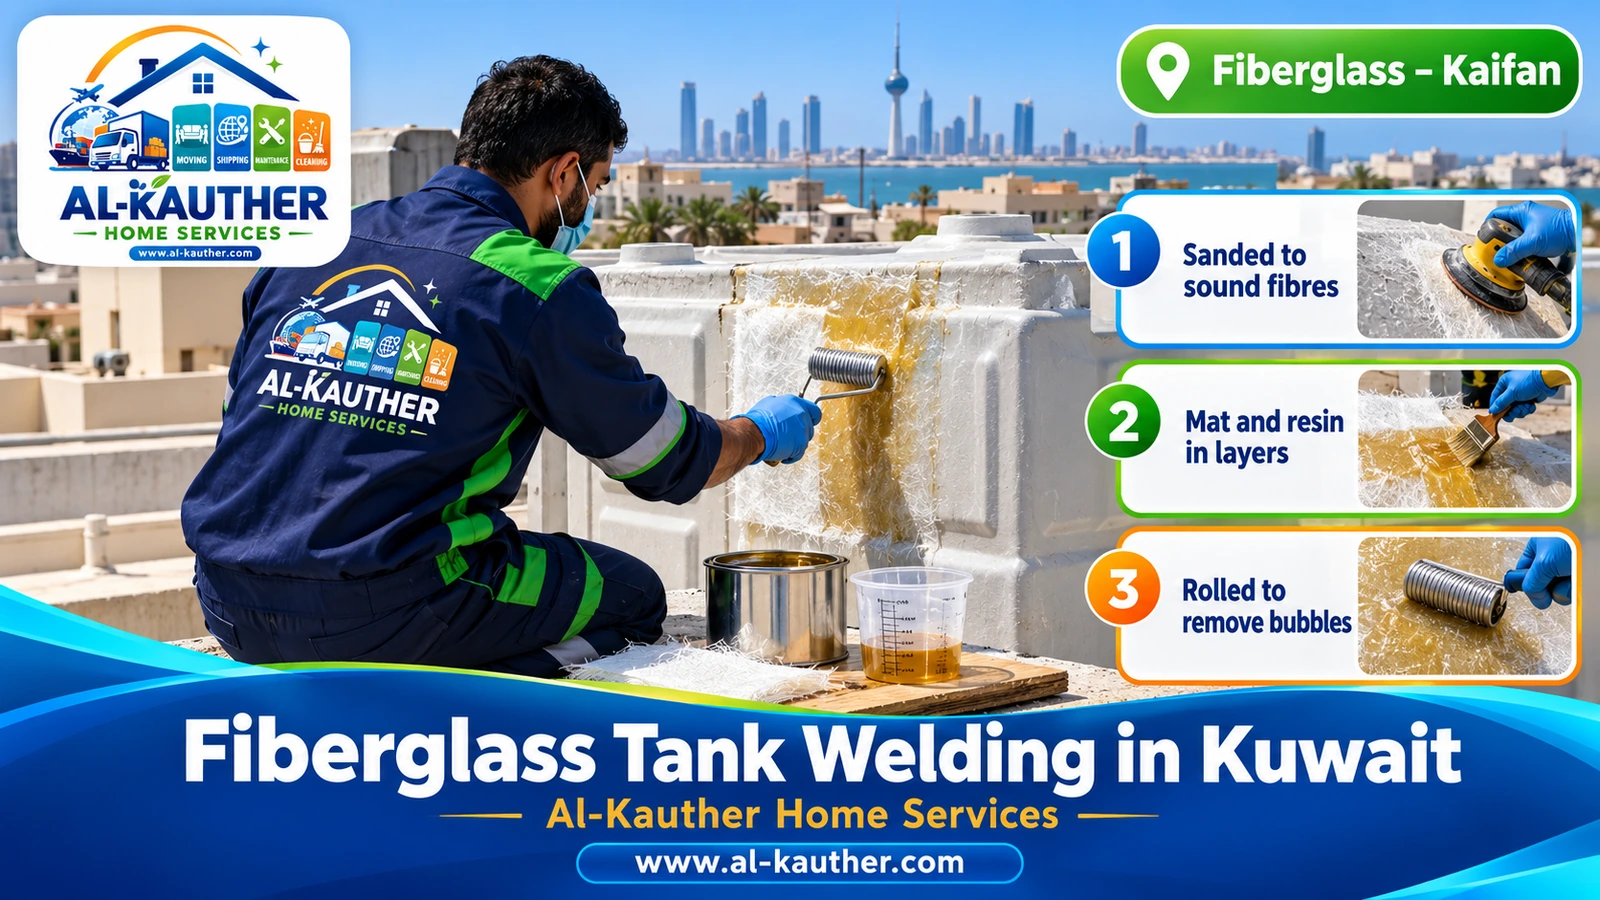
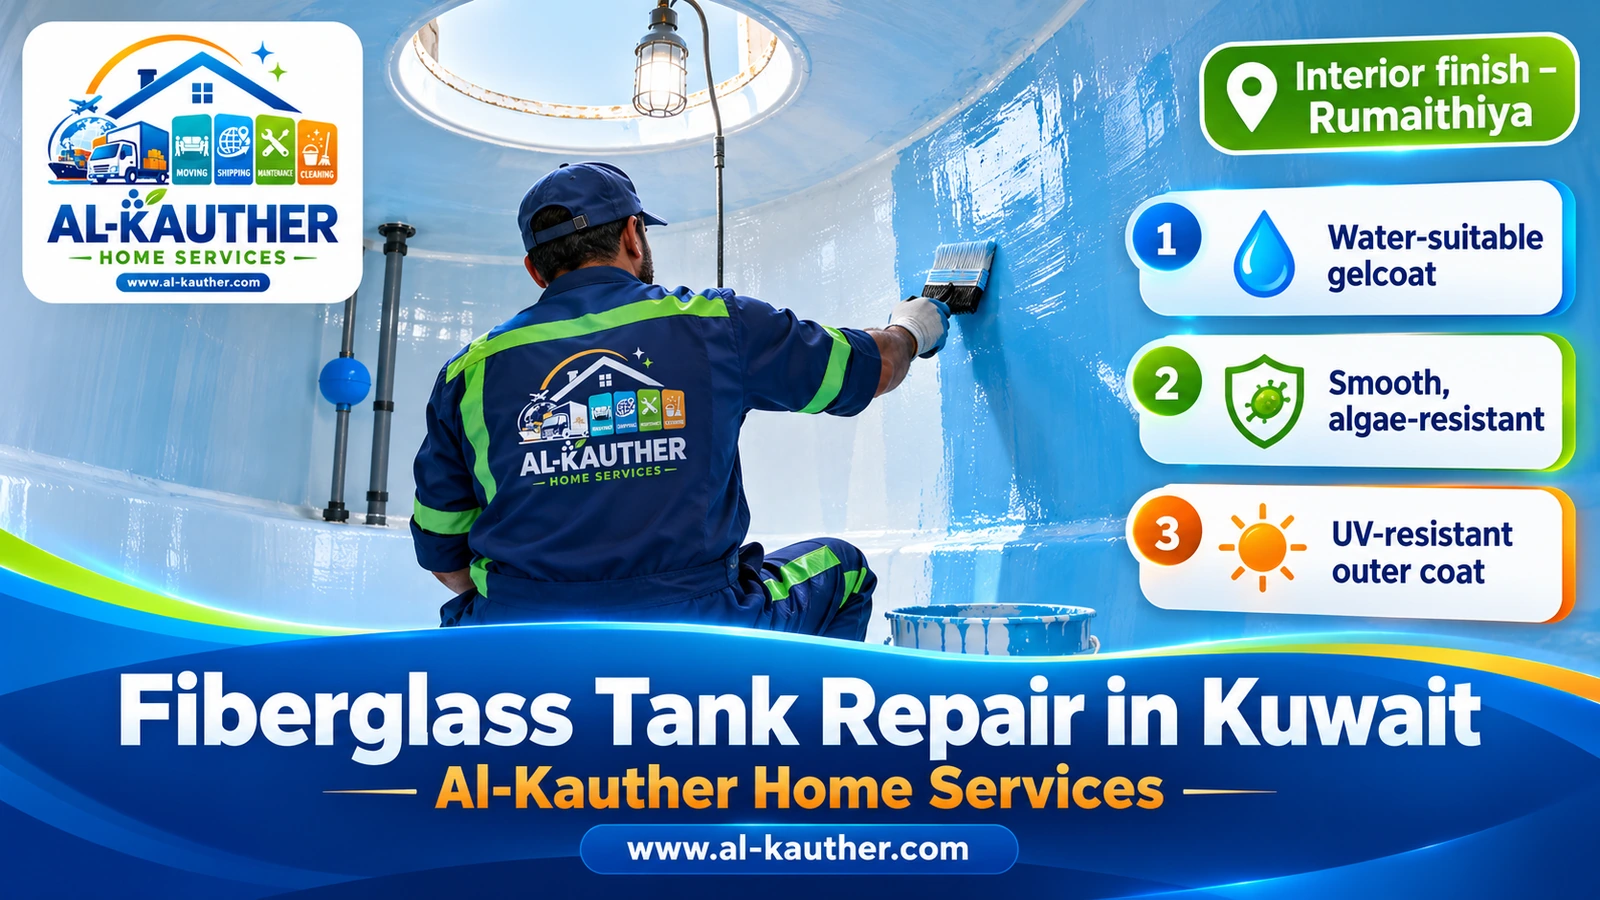
Fiberglass tank welding in Kuwait is not melting but rebuilding the wall: the area is sanded back to sound fibres, then layers of glass-fibre mat soaked in resin mixed with hardener are laid on it one after another, sealed inside with a smooth gelcoat and outside with a UV-resistant coating.
The best fiberglass welding material for a drinking-water tank
The best material for welding a fiberglass water tank is a water-suitable resin with glass mat and an inner gelcoat, not a ready-made filler. Resins differ in how well they resist water and heat, and here is a simple comparison of the types used:
| Material | Strength | When we use it |
|---|---|---|
| Standard (ortho) polyester resin | Widely available, easy to work | Outer layers only; we do not rely on it for the water-contact surface |
| Isophthalic polyester resin | Better water and heat resistance | General repairs on household tanks |
| Vinyl ester resin | Highest water and chemical resistance, low absorption | Floors, permanently submerged areas and old, tired tanks |
| Epoxy | Very strong bond to old surfaces | Small local patches and surface preparation, keeping its sun tolerance in mind |
| Water-suitable gelcoat | Smooth surface that algae cannot cling to | The final inside layer |
| UV-resistant coating | Protects the repair from the sun | The final outside layer |
How a fiberglass tank is welded, step by step
- Drain the tank below the damaged area, then dry it completely; resin will not bond to a damp surface.
- Sand the area and its surroundings until the glossy skin and algae are gone and sound fibres show.
- Remove the dust and wipe the surface with a suitable solvent to take off any grease.
- Mix resin with hardener at a ratio suited to the air temperature and wet out the first mat layer on the area.
- Add the next layers, each reaching about 2 to 3 cm beyond the one before, rolling each to push out bubbles.
- Let the layers cure, sand lightly, then seal the inside with gelcoat and the outside with a UV-resistant coating.
- Air out and rinse the tank before refilling until the resin smell has gone, then refill and monitor.
Patching a hole in fiberglass
A hole in fiberglass is closed with a stepped patch, not a single piece: it starts with a small layer covering the hole, then wider layers that overlap it on every side, so the water pressure is spread across a larger area of sound wall. If the hole is wide, a temporary backing is placed behind it to build the layers on, and it is treated from both sides whenever the inside and outside can be reached.
Large cracks and reinforcement strips
A long crack in a fiberglass tank, especially near the floor or along panel joints, needs reinforcement, not just a patch: we lay woven glass strips across the length of the crack, then mat layers over them, so the area can carry the load of a full tank. On tanks assembled from panels, we check the bolts and gaskets around the crack, because loose bolts are often what caused it.
Working with resin in Kuwait’s heat
Resin cures faster the hotter it gets, and at midday in summer on an open roof it can start to gel before the layer is finished. So on hot days we reduce the hardener ratio, work early in the morning or late in the afternoon, and shade the area if needed. In contrast, cool, humid winter nights slow curing down, so we give the layers longer before refilling.
Preparing the crack: the secret of a repair that does not come back
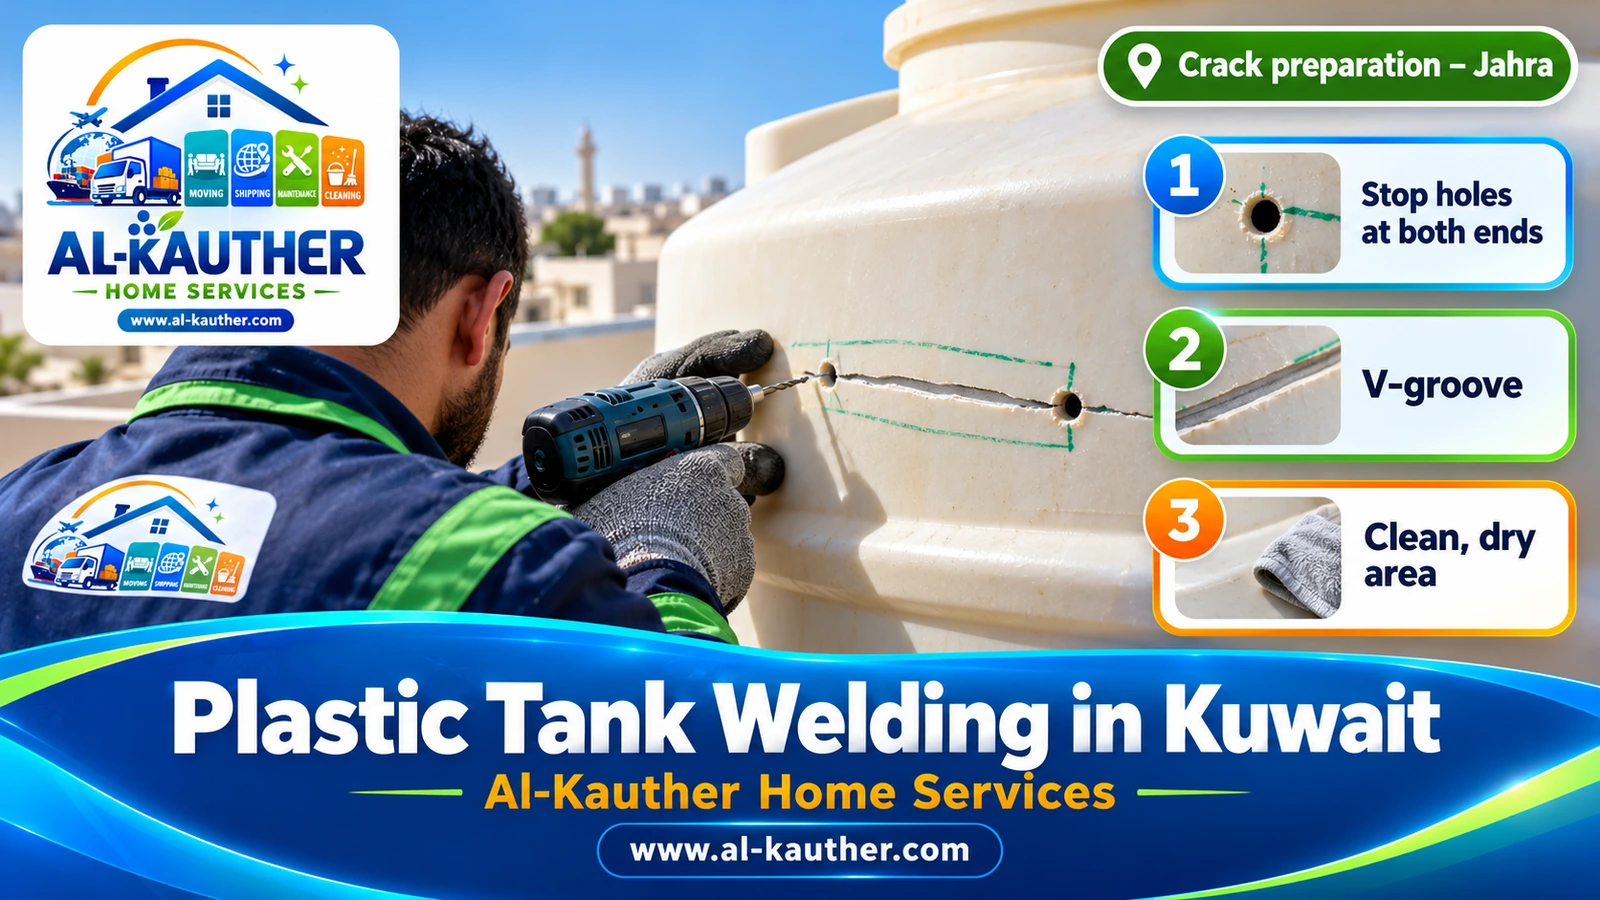
Most welds that fail do not fail because of the material but because of the preparation. Before the rod or resin touches the tank, we prepare the area in four steps that stop the crack from spreading and make sure the material reaches deep into the wall:
- Stop-drill hole: a small hole at each end of the crack, because a crack grows from its sharp tip, and the hole turns that tip into a circle that stops it.
- V-groove: opening the crack into a channel with sloping sides so the rod or resin gets into its depth instead of just covering the surface.
- Cleaning: removing algae, deposits and any earlier putty, because a weld will not fuse with dirt.
- Drying: the area must be completely dry; a single drop of water in the groove can leave a void that leaks later.
Steps of a tank welding visit, from your call to handover
An Al-Kauther tank welding visit follows fixed stages, so you know what will happen on your roof and when the water comes back:
- You send a photo of the crack, the tank type and its size on WhatsApp; we give you an initial view and set the appointment.
- On arrival we check the leak and confirm it is coming from the body, not the fittings, and tell you the method and price before starting.
- We close the inlet valve, switch off the pump and drain the tank below the damaged area; the drained water can be stored if you wish.
- We prepare the crack: stop-drill holes, grooving, cleaning and drying.
- We weld using the method that suits the material, from outside and from inside where possible.
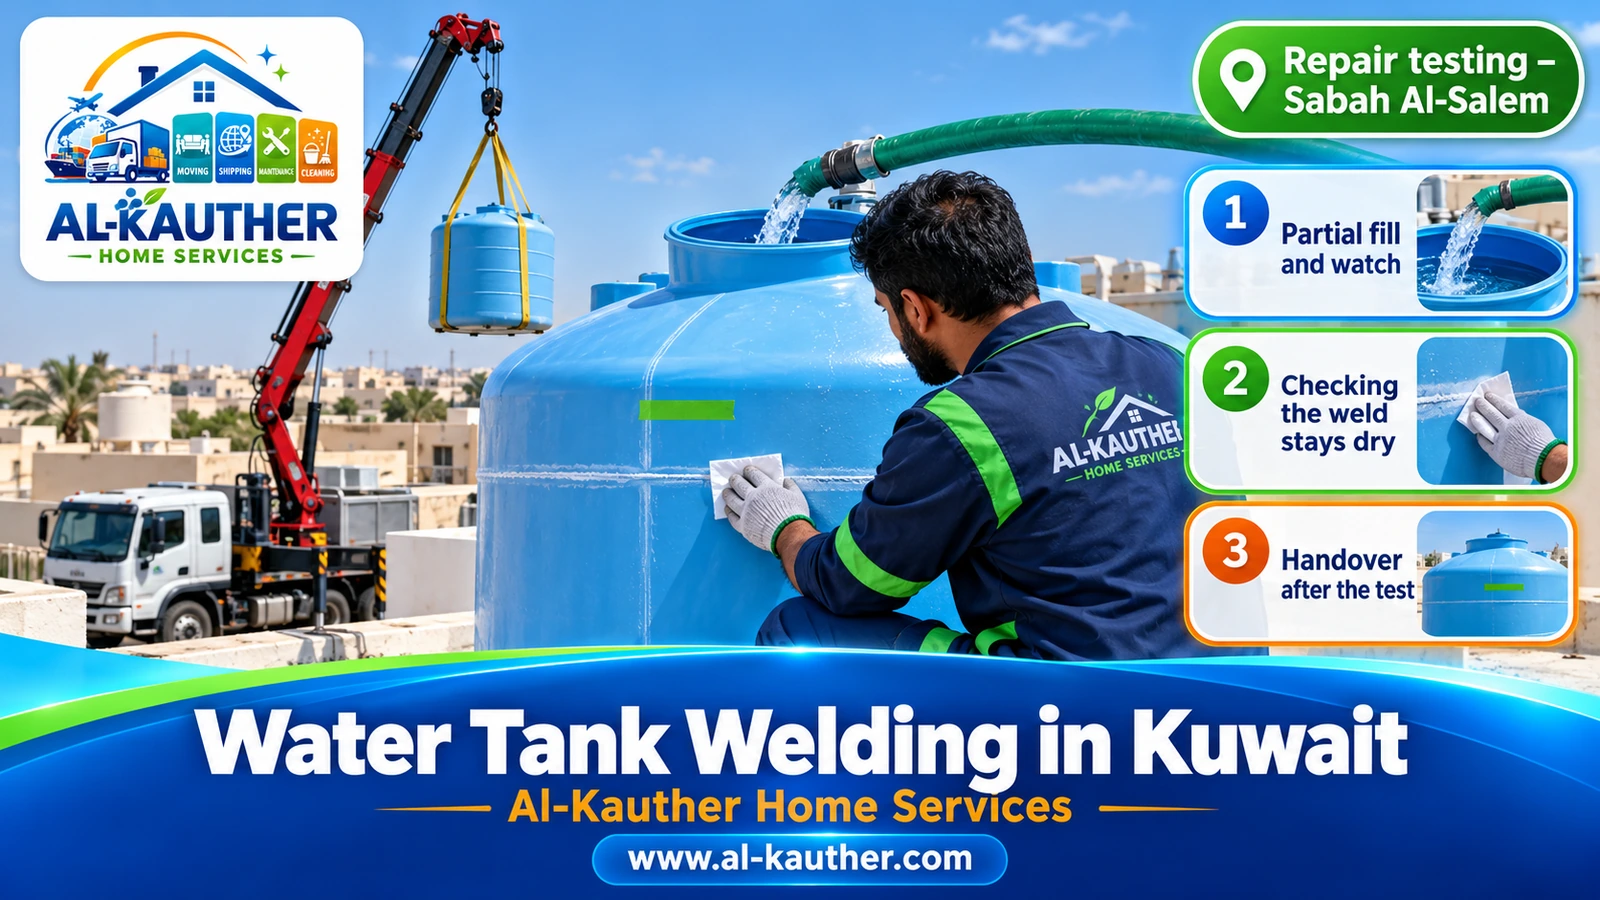
- We wait for cooling or curing, partly fill the tank and watch the area, then fill it fully.
- We explain what to watch in the following days, and we redo the work if the leak returns from the same spot within the period agreed at handover.
How long does tank welding take, and when can the tank be refilled?
Welding a crack in a plastic tank usually takes one to three hours including draining and preparation, and the tank can be refilled once the spot has fully cooled. Fiberglass, besides the working time, needs time for the resin to cure, which can range from a few hours to a day depending on the number of layers and the air temperature, and we do not refill before curing is complete.
If it is the only tank in the house, we agree a time that suits your family’s water use and start early so that, in most plastic tank jobs, water is back the same day. For extensive fiberglass repairs we suggest storing enough water for one night.
Can a tank be welded while it is full?
A permanent weld cannot be made while the tank is full at the crack; heat and resin both need a dry surface. In an emergency, though, the leak can be stopped temporarily with a water plug that sets underwater or a dedicated repair tape until the welding appointment.
A temporary fix gives you a day or a few days without the roof flooding or water seeping into the ceiling, but it does not replace welding. The simplest thing you can do until we arrive: close the inlet valve, use or move water until the level drops below the crack, and keep electrical equipment and wiring away from the water path.
A crack or hole in your tank?
Send a photo of the crack and the tank type on WhatsApp, and we will tell you whether it can be welded and which method suits it.
Call 65550977 WhatsAppAre tank welding materials safe for drinking water?
Yes, when the right materials are chosen and curing is complete. A polyethylene rod is the same material as the tank, so it adds nothing foreign to the water, and a water-suitable resin with an inner gelcoat becomes inert once it has fully cured.
What matters is not refilling a fiberglass tank straight after the repair; uncured resin leaves a styrene smell in the water. So we air out and rinse the tank before refilling, and we recommend washing and disinfecting it after extensive repairs, a service you will find in water tank cleaning and washing in Kuwait.
Where do tanks usually crack? The most common welding spots
Knowing where the crack is tells us why it happened, and the cause decides whether welding alone is enough or whether something else must be fixed so it does not happen again:
- Around inlet and outlet fittings: a pipe that is over-tightened or unsupported pulls on the wall with every pump vibration. We weld the crack, fit a flexible connector or a pipe support, and replace the threaded bulkhead fitting if it is cracked.
- The floor and its edge: a tank on an uneven base or on gravel carries the whole water load on one point. We weld and then advise levelling the base, otherwise the crack returns.
- The shoulder and around the lid opening: usually caused by people climbing on it or items placed on top.
- The sides: a knock during transport or installation, or a wall thinned by the sun.
- Fiberglass panel joints: loose bolts or damaged gaskets.
When is welding not the right answer?
We do not recommend welding a tank whose whole surface has broken down in the sun, that has many cracks in different places, or that is made of a material that does not melt, such as XLPE. In these cases the weld holds where it is while the wall next to it cracks, and the owner pays for one repair after another.
Signs that a tank has reached the end of its life: a white powder that comes off on your hand when you touch the wall, spider-web hairline cracks on the side facing the sun, a wall that snaps instead of flexing, and a warped or bulging shape. If we see this, we tell you before doing any work and point you to a suitable replacement in water tanks for sale in Kuwait.
Our rule: If the expected repair cost is close to the price of a new tank, or the tank will need a second weld soon, we recommend replacement even if welding is possible today.
Welding steel tanks and ground tanks
A galvanised iron or steel tank is welded with metal welding, not hot air, and the weld is then coated inside with a water-safe anti-rust paint, because welding burns off the galvanising and leaves bare steel. Its price is set after inspection because thickness and rust condition vary. A concrete ground tank is not welded; its cracks are injected and it is lined from inside, as explained in our tank repair and maintenance guide.
Water tank welding prices in Kuwait
Al-Kauther’s water tank welding prices in Kuwait start from KWD 9.500 for inspecting the crack and deciding how to repair it, from KWD 13.500 for welding a crack or hole in a plastic tank, and from KWD 18 for fiberglass welding. We give you the final price after the inspection and before any work begins.
Starting prices for the most requested welding jobs, in Kuwaiti dinars:
| Job | What it includes | Starts from |
|---|---|---|
| Crack inspection and method | Finding the leak source, the material and whether welding is worthwhile | KWD 9.500 |
| Welding a crack or hole in a polyethylene tank | Draining, stop-drill, grooving, welding with a matching rod, testing | KWD 13.500 |
| Local fiberglass tank welding and repair | Sanding, mat and resin layers, gelcoat, testing | KWD 18 |
| Extensive layered repair with reinforcement | Long crack or several spots, reinforcement strips and a sealing layer | KWD 22.500 |
| Welding a steel or iron tank | Metal welding and anti-rust coating | Priced after inspection |
What raises or lowers the welding price?
- Crack length and number of spots: one short crack is far simpler than three separate areas.
- Tank material: fiberglass needs more material and longer curing than polyethylene welding.
- Crack position: the floor and areas under fittings need full draining and longer preparation than a crack high on the wall.
- Whether reinforcement or a new bulkhead fitting or connector is needed along with the weld.
- Access: a tank on a high annex or in a tight space takes longer.
- Whether the tank needs washing and disinfection after the repair.
Welding a plastic tank at home: should you try it?
In theory you could buy a hot-air gun and rods and weld the tank yourself, but the usual result is a weld that looks closed from outside and has not fused inside. Household guns do not hold a steady temperature, the wrong rod will not fuse, and without practice in hand speed the plastic is either scorched or left cold.
What we suggest instead: find the crack, lower the water level below it, clean the area from outside without putting anything on it, photograph it and send it to us. This shortens the visit and leaves the surface ready for a proper weld.
How to choose a tank welding technician in Kuwait
Choose a tank welding technician who asks about the tank material before quoting a price, refuses putty as a permanent fix, and tests the weld with water in front of you before leaving. These questions show you the difference between a technician who knows the material and one who simply covers the crack:
- What is my tank made of, and how will you weld it?
- Will you drill stop holes at both ends of the crack?
- Which rod or resin will you use, and is it suitable for drinking water?
- When can I refill the tank after welding?
- What happens if the leak comes back from the same spot?
After welding: how to protect the repair and extend the tank’s life
A tank that cracked once for a particular reason will crack again if that reason stays. So these steps after welding matter to us as much as the weld itself:
- Shade the tank from direct sun; UV is polyethylene’s biggest enemy in Kuwait.
- Level the base and clear gravel from under the tank.
- Support heavy pipes and fit a flexible connector between the tank and the pipe.
- Do not climb on the tank or place items on its lid.
- Wash the tank regularly; sediment on the floor hides early cracks.
- If the tank water gets very hot in summer, water tank cooler installation eases the heat on both the water and the tank wall.
Tank welding across Kuwait’s six governorates
We reach tank welding jobs in every governorate of Kuwait daily from 8 am to 10 pm, and we schedule visits by area so we can arrive as soon as possible.
Tank welding in the Capital Governorate
Shuwaikh, Dasma, Shamiya, Kaifan, Rawda, Khaldiya, Qadsiya, Adailiya, Yarmouk, Faiha, Qurtuba, Surra, Sulaibikhat and Doha. Many older homes in these areas have long-serving fiberglass tanks that need layered repair.
Tank welding in Hawalli Governorate
Salmiya, Hawalli, Jabriya, Rumaithiya, Salwa, Mishref, Bayan, Shaab, Zahra, Siddiq, Salam, Hitteen, Shuhada and Maidan Hawalli.
Tank welding in Farwaniya Governorate
Farwaniya, Khaitan, Jleeb Al-Shuyoukh, Omariya, Rabiya, Rehab, Andalous, Riggae, Ishbiliya, Ardiya, Sabah Al-Nasser, Abdullah Al-Mubarak and Ferdous.
Tank welding in Ahmadi Governorate
Ahmadi, Fahaheel, Mangaf, Abu Halifa, Mahboula, Fintas, Egaila, Riqqa, Hadiya, Sabahiya, Dhaher, Jaber Al-Ali, Sabah Al-Ahmad, Wafra and Khairan.
Tank welding in Jahra Governorate
Jahra, Qasr, Naeem, Waha, Oyoun, Naseem, Taima, Saad Al-Abdullah, Jaber Al-Ahmad, Qairawan and Sulaibiya.
Tank welding in Mubarak Al-Kabeer Governorate
Mubarak Al-Kabeer, Qurain, Adan, Qusour, Sabah Al-Salem, Messila, Abu Fatira, Fnaitees, Masayel and Abu Al-Hasaniya.
Other Al-Kauther tank services in Kuwait
- Water tank repair in Kuwait: leak detection, float valves, valves, tank removal and installation.
- Water tank cleaning and washing in Kuwait: washing and disinfection after a repair or on a regular schedule.
- Water tanks for sale in Kuwait: for when replacement makes more sense than welding.
- Water tank cooler installation: for cooler water in summer.
- Central filter and pump installation: for cleaner water and better pressure.
- Jetaroof roof insulation: for a roof that protects your tanks and home from heat and leaks.
Tank welding in your area today
Call or WhatsApp 65550977 and we will arrange the earliest visit between 8 am and 10 pm.
Call 65550977 WhatsApp